The journal
What setting should a rowing machine be on? Damper and foot straps
Choose a rowing-machine setting for your model, understand Concept2 damper and drag factor, and adjust the foot straps for a comfortable stroke.
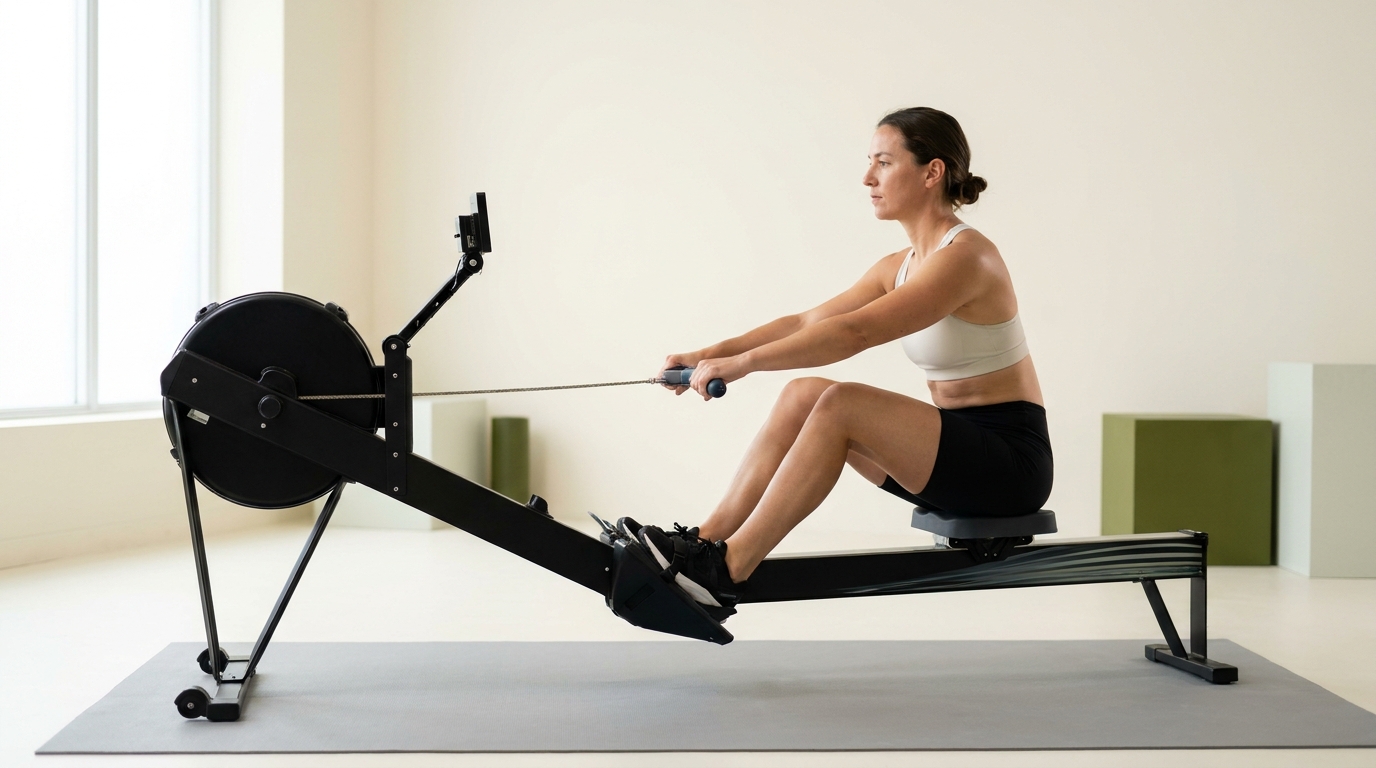
For a Concept2 RowErg, the manufacturer suggests starting with the damper between 3 and 5, then adjusting for your technique and session. That range does not apply to every rower. Separately, set the foot straps across the balls of your feet and adjust the foot stretchers for your own fit. These are different settings, so check both before rowing.
Damper, resistance and drag factor
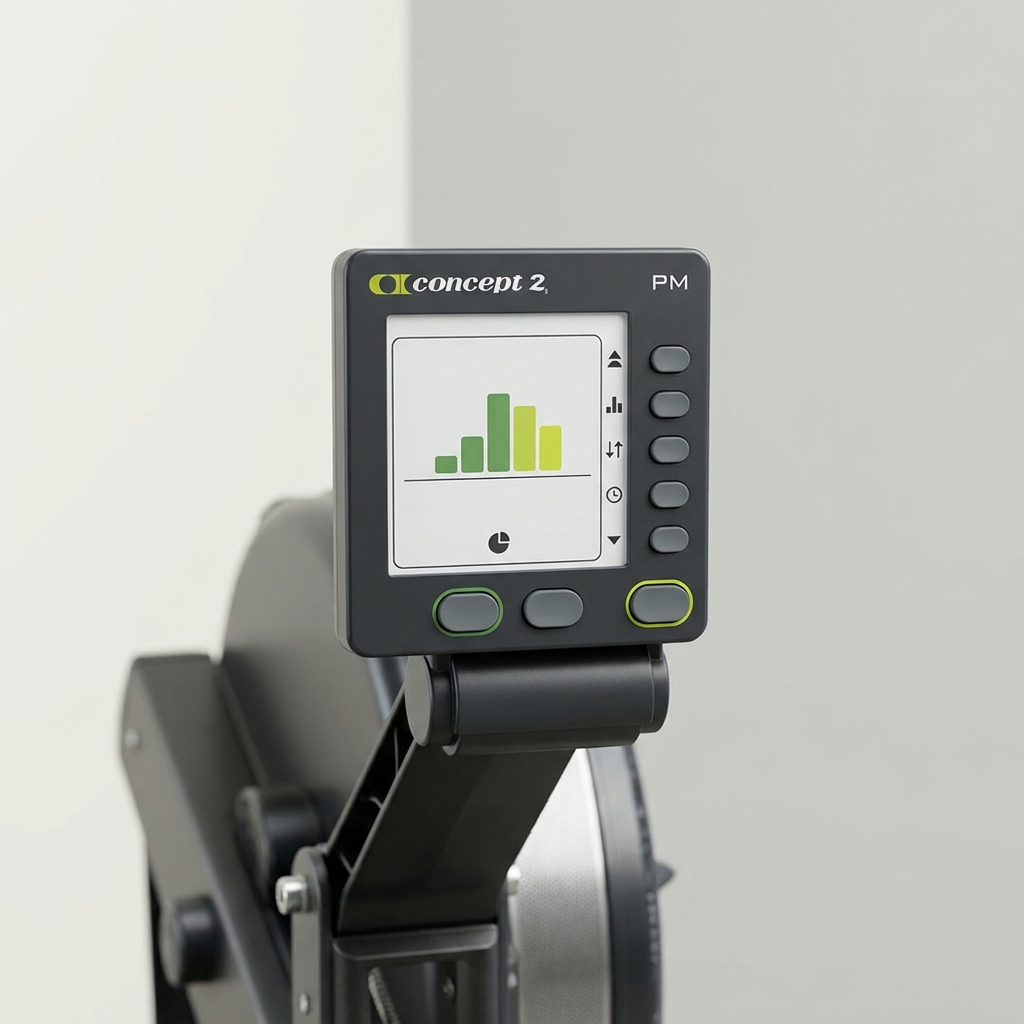
On a Concept2, the damper controls airflow and the feel of each stroke; your effort determines workout intensity. A higher lever number is not automatically better. The monitor measures drag factor, and the same lever setting can feel different on another machine. Use the monitor’s drag-factor display if you want a repeatable reference. See Concept2’s damper-setting guidance. For a magnetic, water or other rower, follow that model’s instructions rather than copying a Concept2 number.
Why strap placement matters
A strap that sits over the ball of your foot anchors your shoe at the strongest leverage point without trapping your toes. With the stretcher height set so your arms clear your knees at the catch, you avoid collisions that disrupt stroke timing and form Aaptiv setup guide.
Set your foot straps: a quick process
- Sit on the rower and place your feet in the foot stretchers.
- Position each strap over the balls of your feet, not over your toes or high on your laces. Tighten until your feet feel secure but you can still wiggle your toes Aaptiv setup guide.
- Slide the foot stretchers up or down so the strap stays over the ball of your foot and, at the catch, your arms track just above your knees with no contact Aaptiv setup guide.
- Row a few light strokes, re-tighten if needed, and note the stretcher hole or index so you can repeat the setup next time.
How to tell the setting is right
- At the catch, your shins are near vertical, your heels can lift slightly, and your shoulders stay broad.
- Your forearms glide over your knees without bumping, indicating the stretcher height is appropriate Aaptiv setup guide.
- On the finish, your feet stay planted without slipping forward under the straps.
If your shins are long or flexibility is limited
Lower the foot stretchers a notch so you can reach the catch without your arms hitting your knees, a common need for longer shins. If you can’t come forward comfortably without pushing your kneecaps outward to dodge your arms, drop the stretchers and retest Aaptiv setup guide.
Common mistakes to avoid
- Strap over the toes: this traps the front of the foot and can limit ankle motion. Move it back to the ball of the foot Aaptiv setup guide.
- Too loose: your feet slide forward on the drive and you lose connection. Snug the straps and retest.
- Arms colliding with knees: adjust stretcher height so the handle path clears your knees at the catch Aaptiv setup guide.
A quick worked example
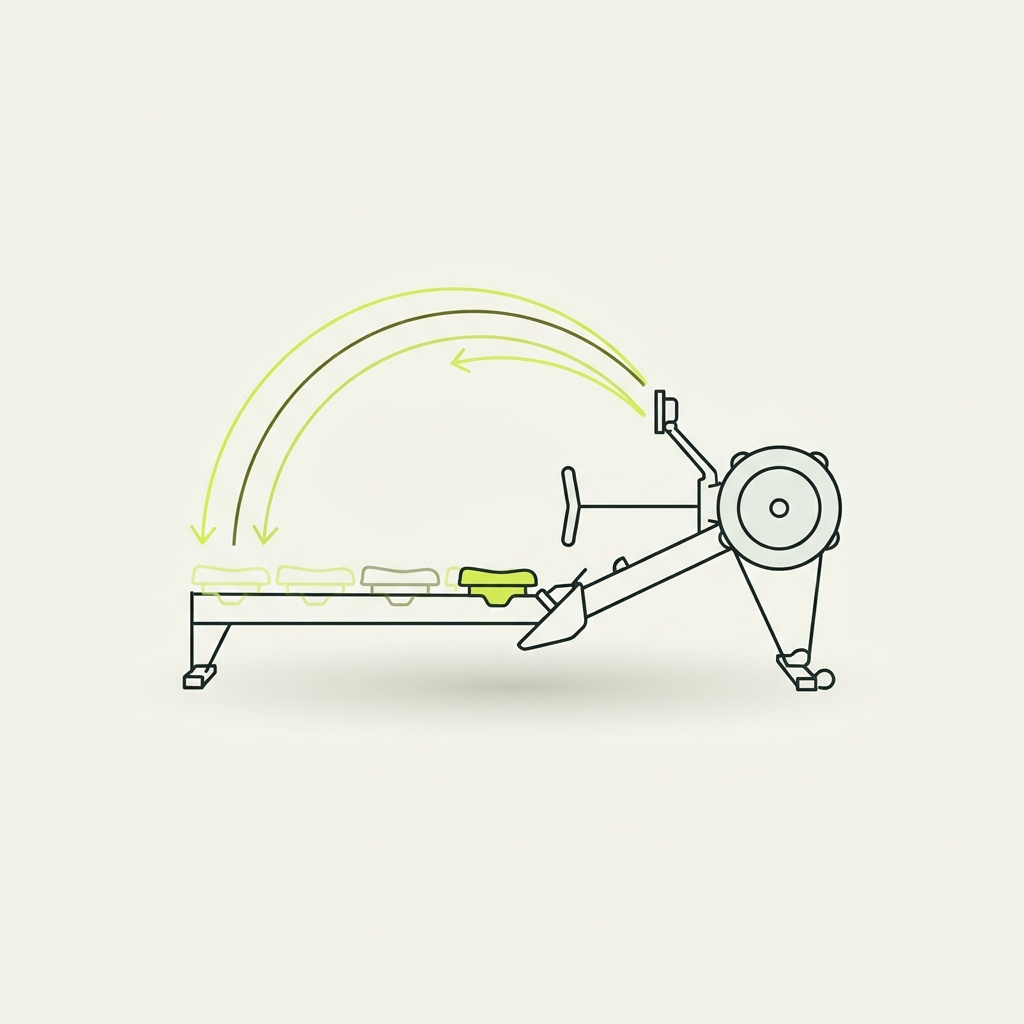
You strap in and notice at the catch your forearms brush your kneecaps. Slide both foot stretchers down one hole, re-tighten so the strap lies across the ball of each foot, and try five strokes. Your forearms now clear your knees, heels can pop slightly at the catch, and your feet stay planted on the finish. Note the stretcher index so you can set up in seconds next time.
Want the full foot-position picture?
For a broader walkthrough of foot placement, ankle movement and catch posture, see our explainer: Best foot position on a rowing machine: a simple, secure setup. If you’re troubleshooting form, our practical guide to fixes can help: Common rowing mistakes on the erg and how to fix them.
Pre-row foot strap checklist