The journal
How to adjust a workout bench angle
Identify your bench’s adjustment mechanism, then follow its own position and locking instructions. Check stability and avoid transferring notch counts from another model.
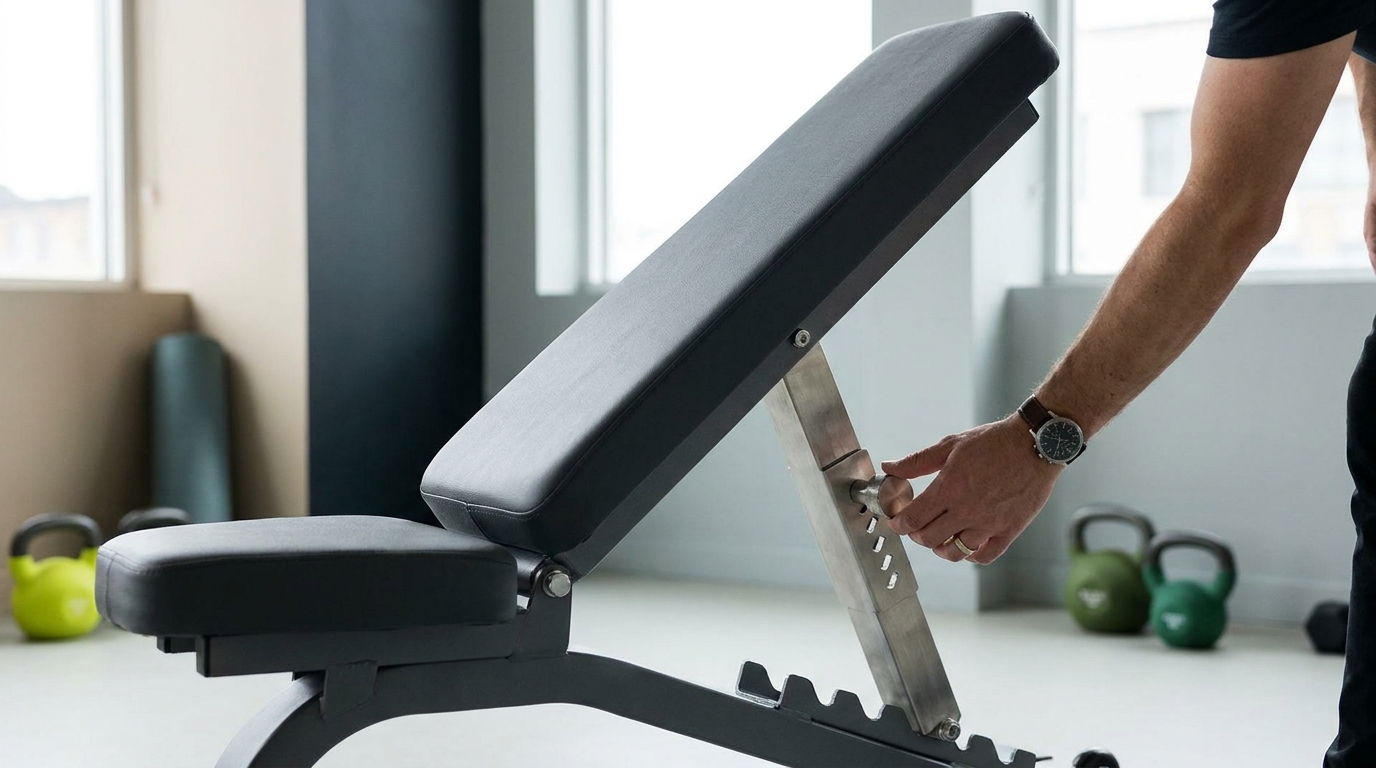
Short answer: Identify your bench’s adjustment mechanism, then set the back pad and seat according to the model’s instructions before you lift. On a ladder bench, lift the pad and drop the support bar into a groove; on a pop‑pin bench, pull the spring‑loaded pin, move to the new hole and let it snap in. Some seats use a hybrid ratcheting pop‑pin: lift to go up, pull the pin to lower. Always confirm it’s fully seated before loading weight (REP Bench Guide; REP: Ladder vs Pop‑Pin).
1) Identify your bench mechanism
- Ladder style: a row of grooves that the support bar drops into. It’s quick and intuitive (REP: Ladder vs Pop‑Pin).
- Closed ladder: a ladder that’s retained so it can’t lift out during adjustment; also used on benches designed for vertical storage (REP Bench Guide).
- Pop‑pin: a spring‑loaded pin under the pad that pops into numbered holes along a curved spine (REP Bench Guide).
- Hybrid ratcheting seat (on some models): lift the seat to raise it without pulling the pin; pull the pin to lower (REP Bench Guide).
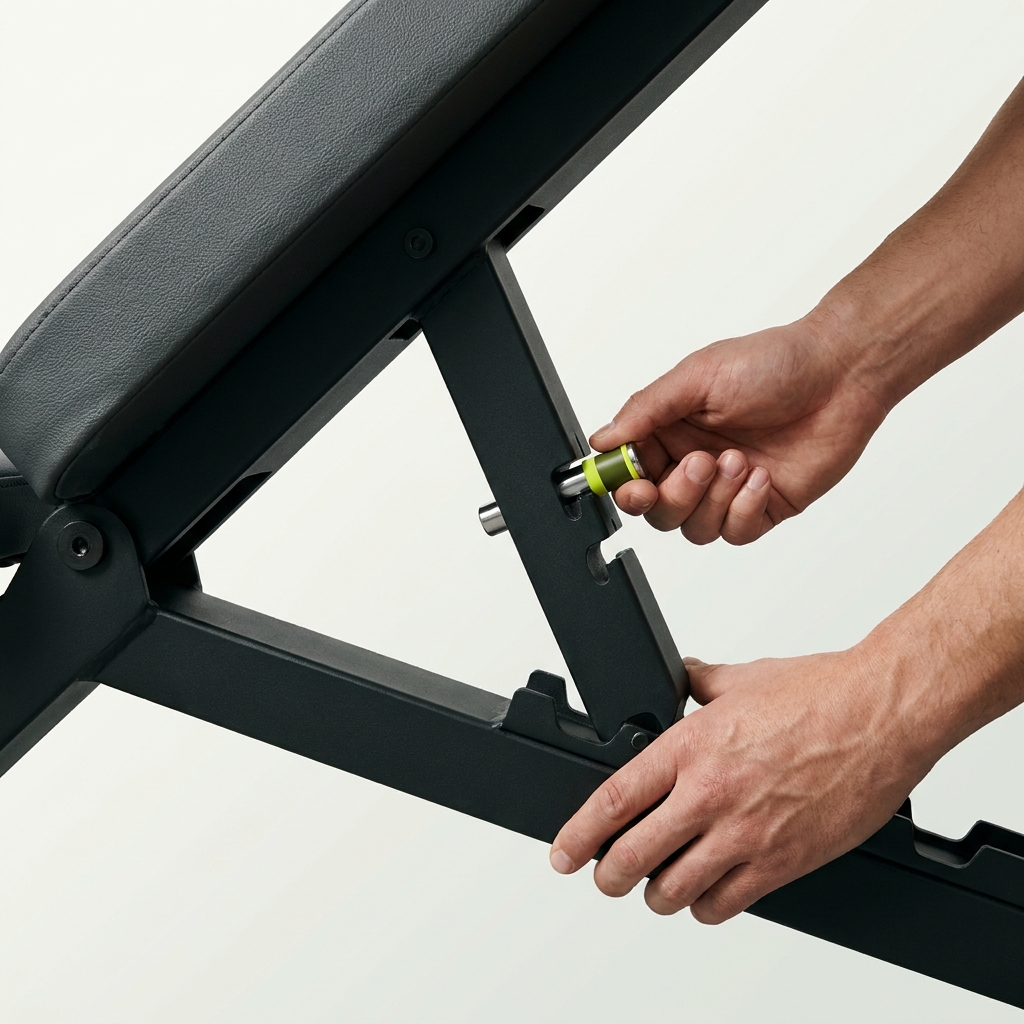
2) Adjust the back pad: exact steps
Ladder back pad
- Unload the bench. Use the manufacturer’s adjustment position and support the pad as its instructions specify.
- Lift the pad slightly, move the support bar to your target notch, and let it settle fully into the groove. You may need two hands when moving to a lower setting (REP: Ladder vs Pop‑Pin).
- Shake-test the pad to confirm the bar is securely seated before you sit or lie down (REP: Ladder vs Pop‑Pin).
Pop‑pin back pad
- Unload the bench. Support the back pad with one hand.
- Pull the spring‑loaded pin straight out, move the pad to the new angle, then release the pin so it pops into the hole.
- Wiggle the pad to verify the pin is fully engaged and locked up/down as designed (REP: Ladder vs Pop‑Pin).
Hybrid ratcheting seat systems (where present)
- To raise: simply lift the seat until it clicks into the next position.
- To lower: pull the pop‑pin, then lower to the desired angle and release to lock (REP Bench Guide).
3) Adjust the seat pad
Most adjustable benches have distinct seat angles. Set a slight seat incline when the back pad is inclined to help you stay planted. If your bench has the hybrid ratcheting seat described above, use the lift‑to‑raise and pin‑to‑lower behavior for quicker tweaks (REP Bench Guide).
4) Quick angle picks for common lifts
- Flat bench: 0 degrees for classic presses and support work.
- Low incline: 15-30 degrees for upper‑chest emphasis with shoulder‑friendly pressing.
- Moderate incline: around 45 degrees to shift more work to the shoulders.
- High incline: 60-90 degrees for strict shoulder pressing.
These ranges reflect practical use cases explained in BLK BOX: Bench Angle Settings. If your bench supports decline, many models offer negative angles in roughly the single‑digits to low teens (for example, around −8 to −12 degrees), useful for decline presses or sit‑ups (REP Bench Guide).
Want help choosing an incline for chest work? See What angle should you use on an incline bench?
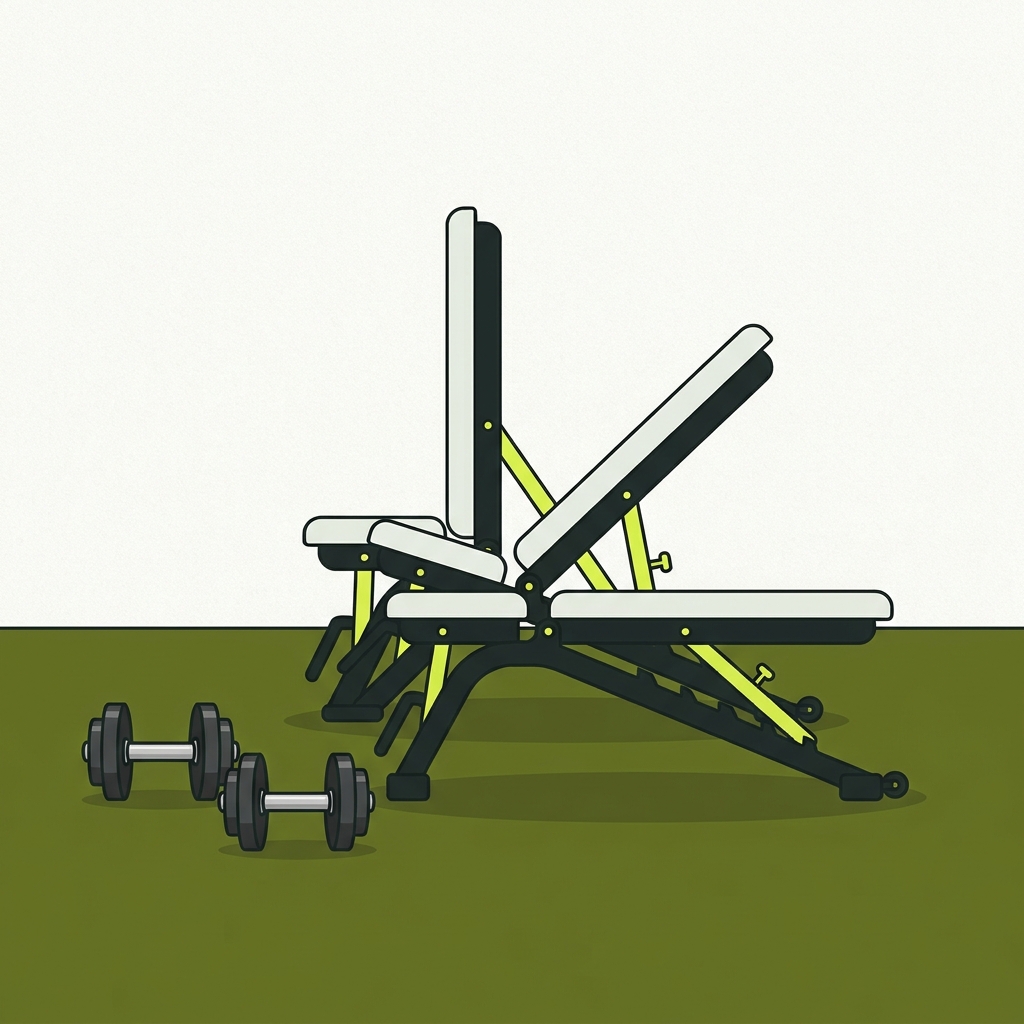
5) A quick example: flat to 30 degrees in seconds
Ladder bench: Stand at the head, lift the back pad, use the position specified in your bench’s own angle chart, let it drop into place, then tug the pad to confirm it’s locked. Set a slight seat angle so you don’t slide (REP: Ladder vs Pop‑Pin; REP Bench Guide).
Pop‑pin bench: Support the pad, pull the pin, pivot the pad to the hole that corresponds to ~15-30 degrees, release to pop in, and shake‑test. Use the seat position recommended for your bench and exercise.
Setup tips for security and comfort
- Unload first. Adjust with no bodyweight or dumbbells on the pads.
- Mind your fingers. Keep them clear of ladder grooves and hinges while the pad moves.
- Always confirm lock. Do a light push/pull on the pad after setting the angle to verify the bar or pin is seated (REP: Ladder vs Pop‑Pin).
- Set the seat. A small seat incline prevents sliding on higher back‑pad angles (REP Bench Guide).
Put this into practice
Identify the adjustment mechanism and inspect that it is seated as the maker directs before adding load. Keep angle selection separate from confirming that the bench is stable and locked.
Bench angle change checklist
Comparing benches or planning an upgrade? See our overview: What is the best gym bench for home use? A practical buying guide.